Windows 10 / Windows 11

Here’s a six-step guide to installing TensorFlow in Jupyter Notebook, available in both German and English, for your WordPress site:
English
- Install MinicondaDownload Miniconda3 for Windows from the Miniconda website download and install it
- Installing Jupyter NotebookOpen the Miniconda terminal and enter
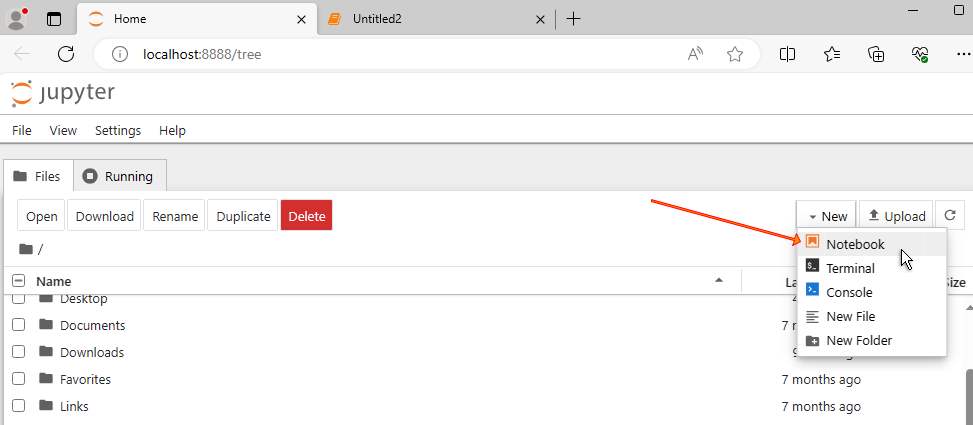
conda install jupyterone - Launch Jupyter NotebookIn the Miniconda terminal
jupyter notebookone - Install TensorFlowAdd a cell block in your Jupyter Notebook
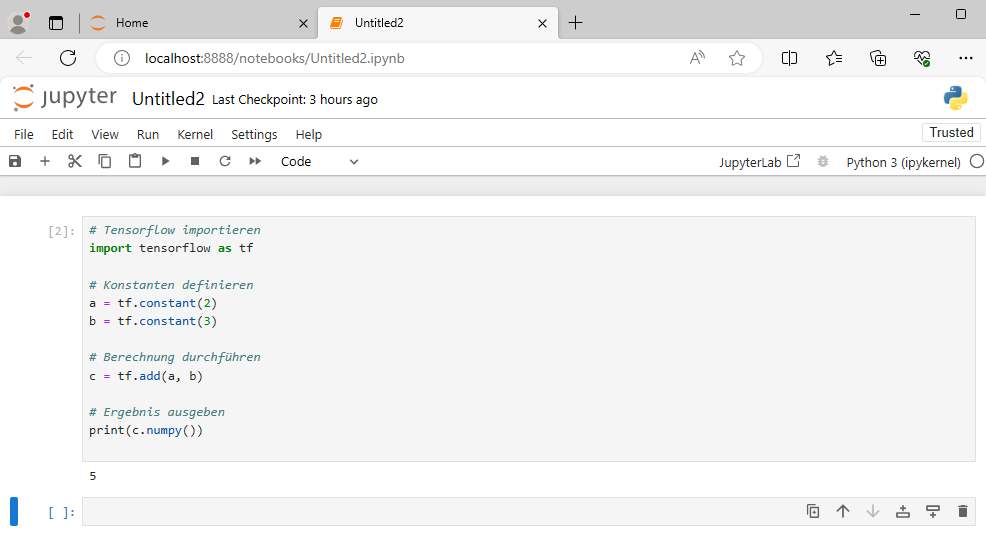
!pip install tensorflowone - Try out TensorFlowWrite some test code in Jupyter Notebook:
import tensorflow as tf
   a = tf.constant(2)
   b = tf.constant(3)
   c = tf.add(a, b)
   print(c.numpy())
Create your own TensorFlow environment**: Set up a dedicated Python environment for TensorFlow using Conda or virtualenv (optional but recommended).
English
- Install MinicondaDownload Miniconda3 for Windows from the Miniconda website and install it.
- Install Jupyter NotebookOpen the Miniconda terminal and enter
conda install jupyter. - Launch Jupyter NotebookIn the Miniconda terminal, type
jupyter notebook. - Install TensorFlowIn a Jupyter Notebook cell, enter
!pip install tensorflow. - Test TensorFlowWrite some test code in Jupyter Notebook:
import tensorflow as tf
   a = tf.constant(2)
   b = tf.constant(3)
   c = tf.add(a, b)
print(c.numpy())- Set up a dedicated environment for TensorFlow: Set up a specific Python environment for TensorFlow using Conda or virtualenv (optional but recommended).
